Finally, due to security reasons, we recommend that you transfer the NFT from the Ethereum address which we created for you (i.e., the Ethereum address which is on your physical NFT card) to another of your Ethereum addresses. This way you can be 100% assured that no one else other than you possesses the seed phrase to the Ethereum address that holds your NFT. If you do not yet have another / an own Ethereum address, we recommend that you create a new one (please refer to the note section in Step 3.3. if you need guidance for this).
In the following steps we will show you how you can transfer your NFT from the current to another / a new Ethereum address using the OpenSea platform:
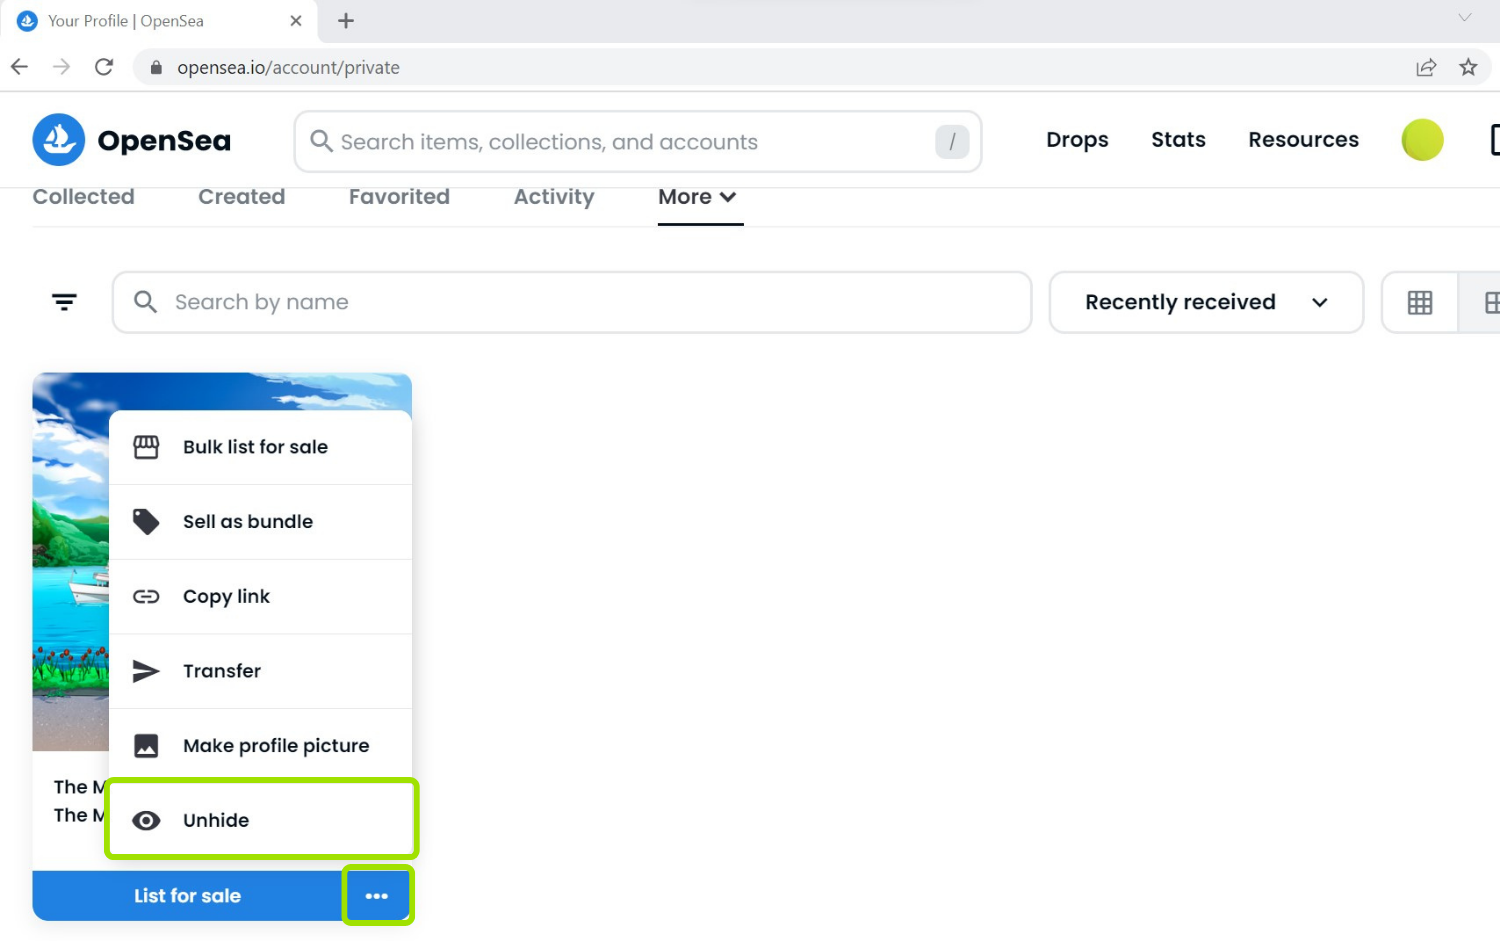
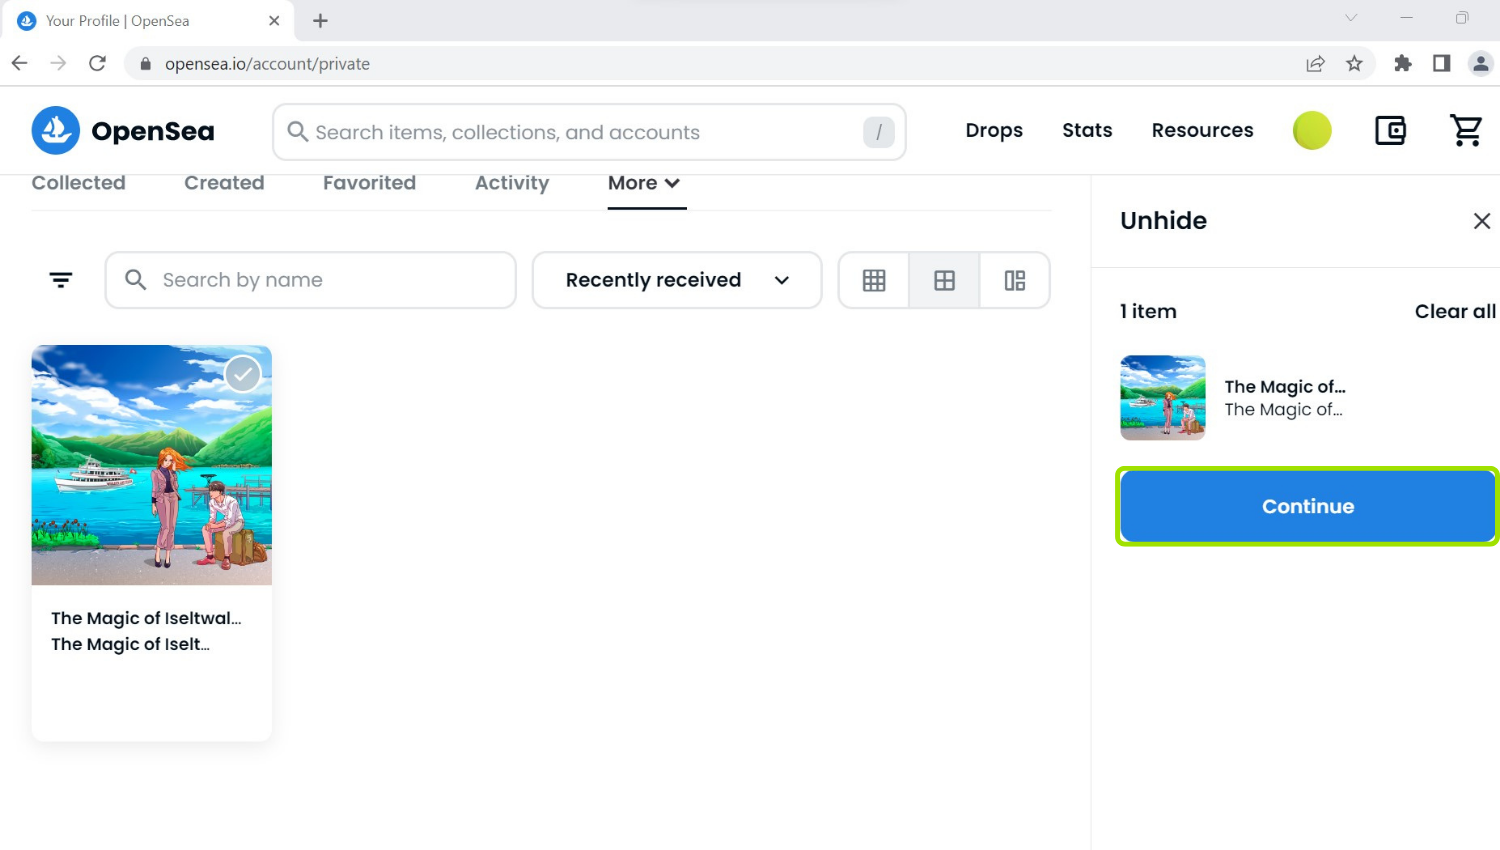
3.1. Hover with your mouse over the NFT and click on the three dots which will appear on the right side of «List for sale» below the NFT title – and now click on «Transfer»
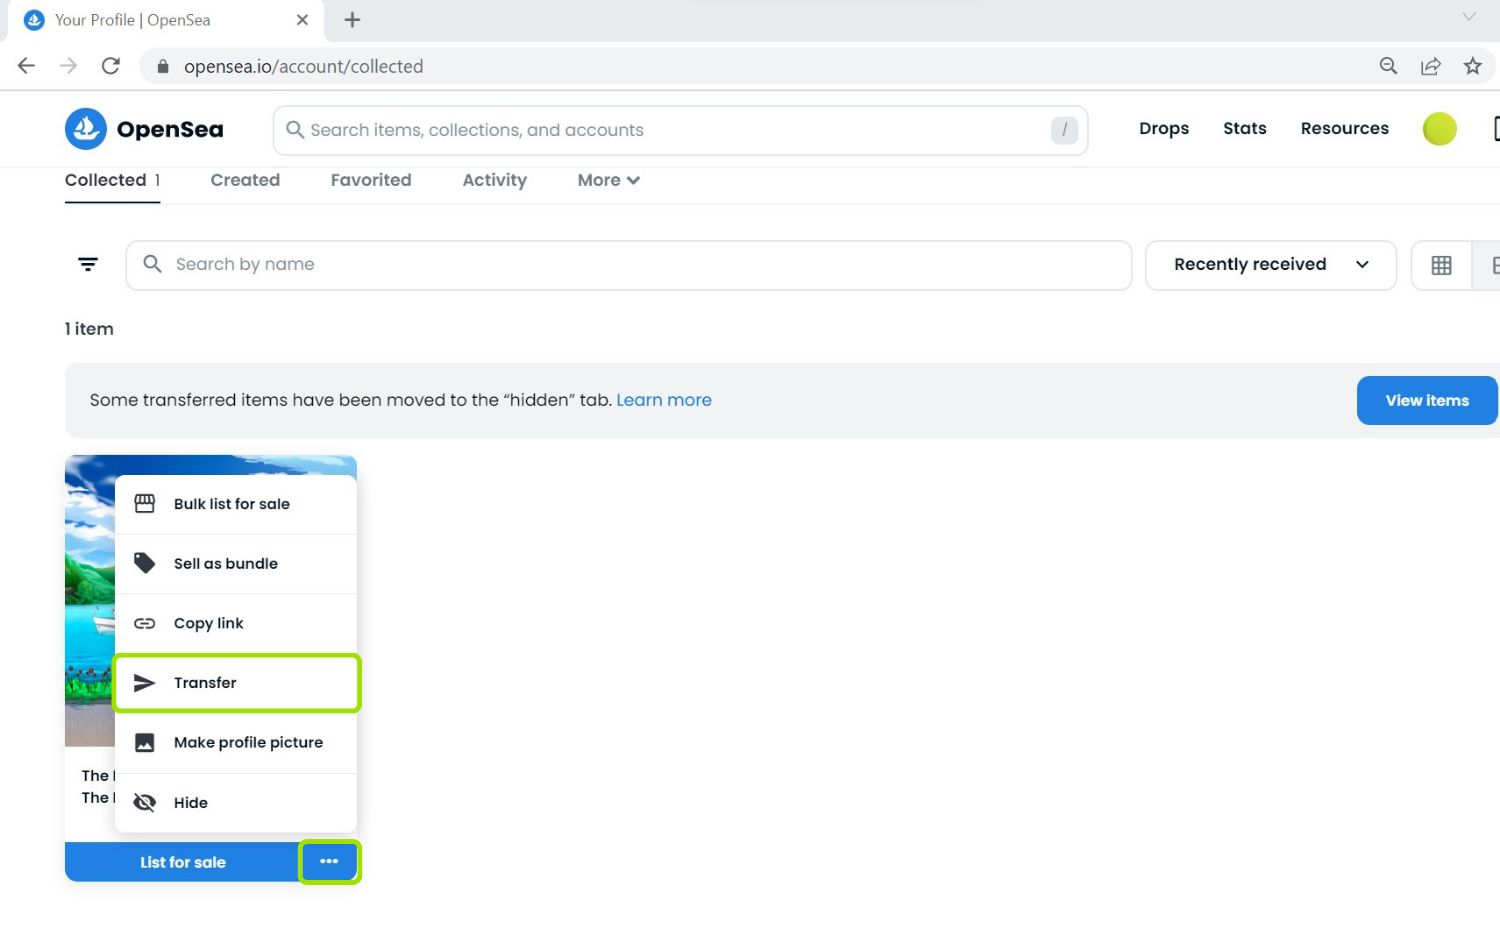
Note: If your intention is to directly list your NFT for sale on OpenSea you can initiate the listing process by clicking on the «List for sale» button. However, due to security reasons, we recommend that you first transfer the NFT to another of your Ethereum addresses.
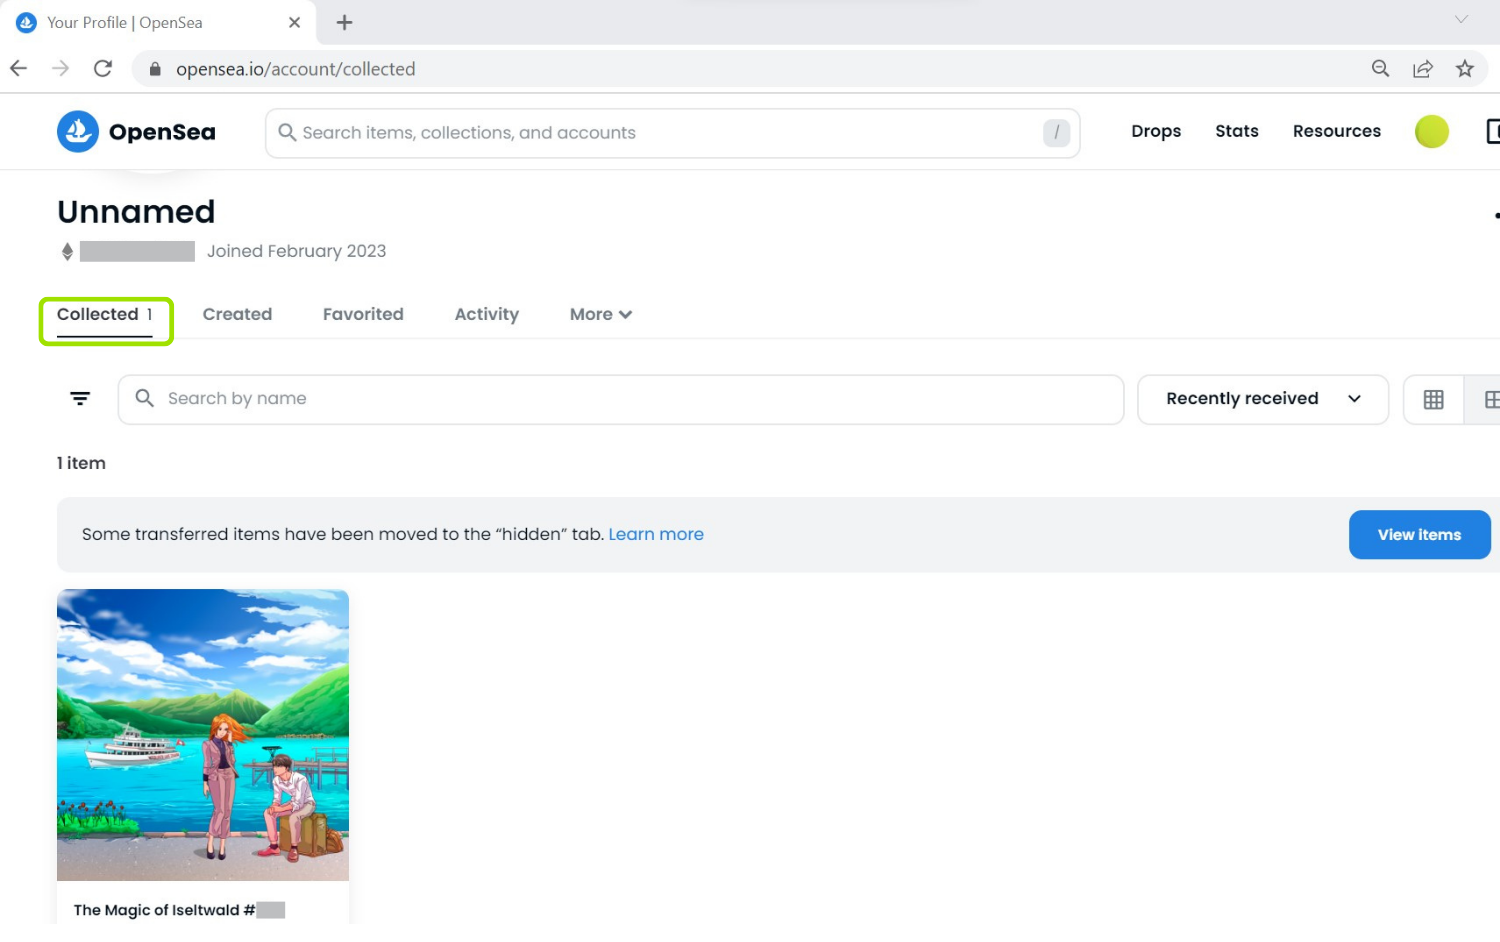
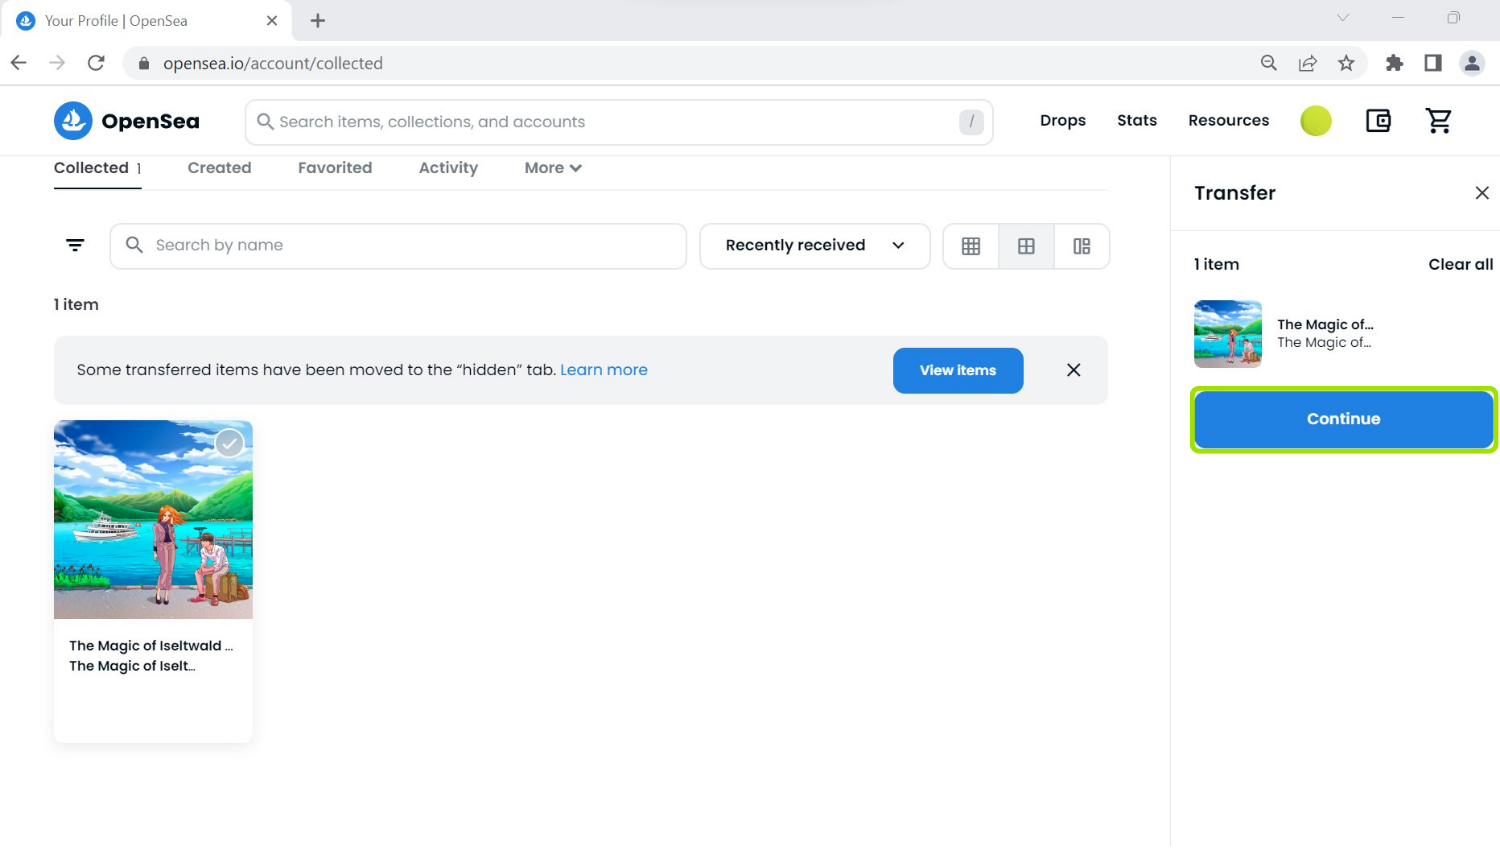
3.2. Click on the «Continue» button
3.3. Enter the Ethereum address to which you want to send your NFT (!double-check the correctness of the address!) and click on the «Transfer» button
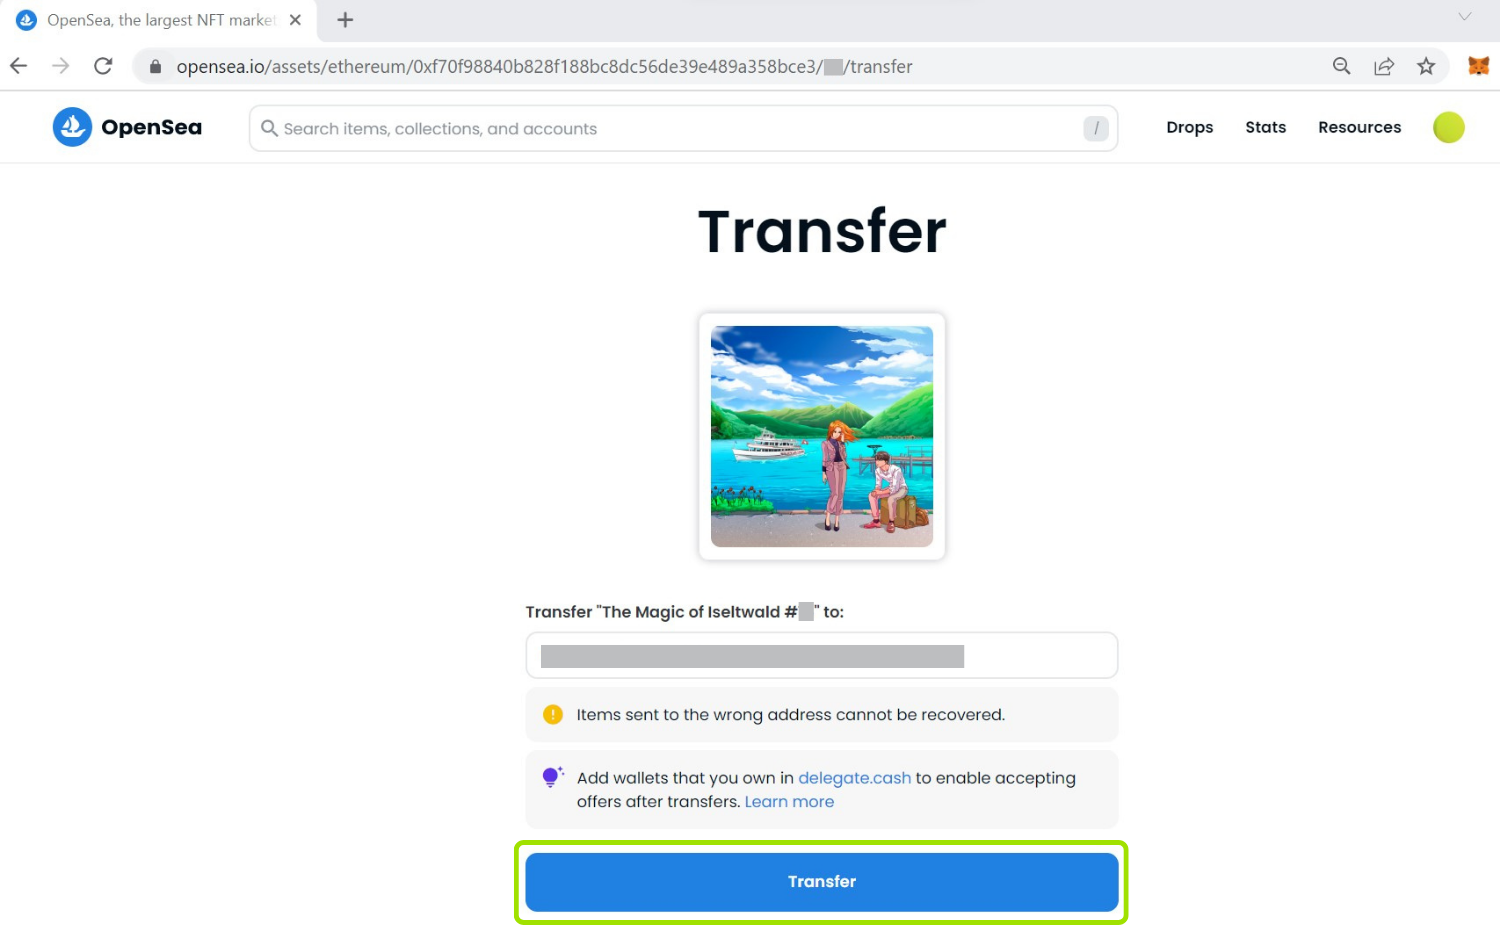
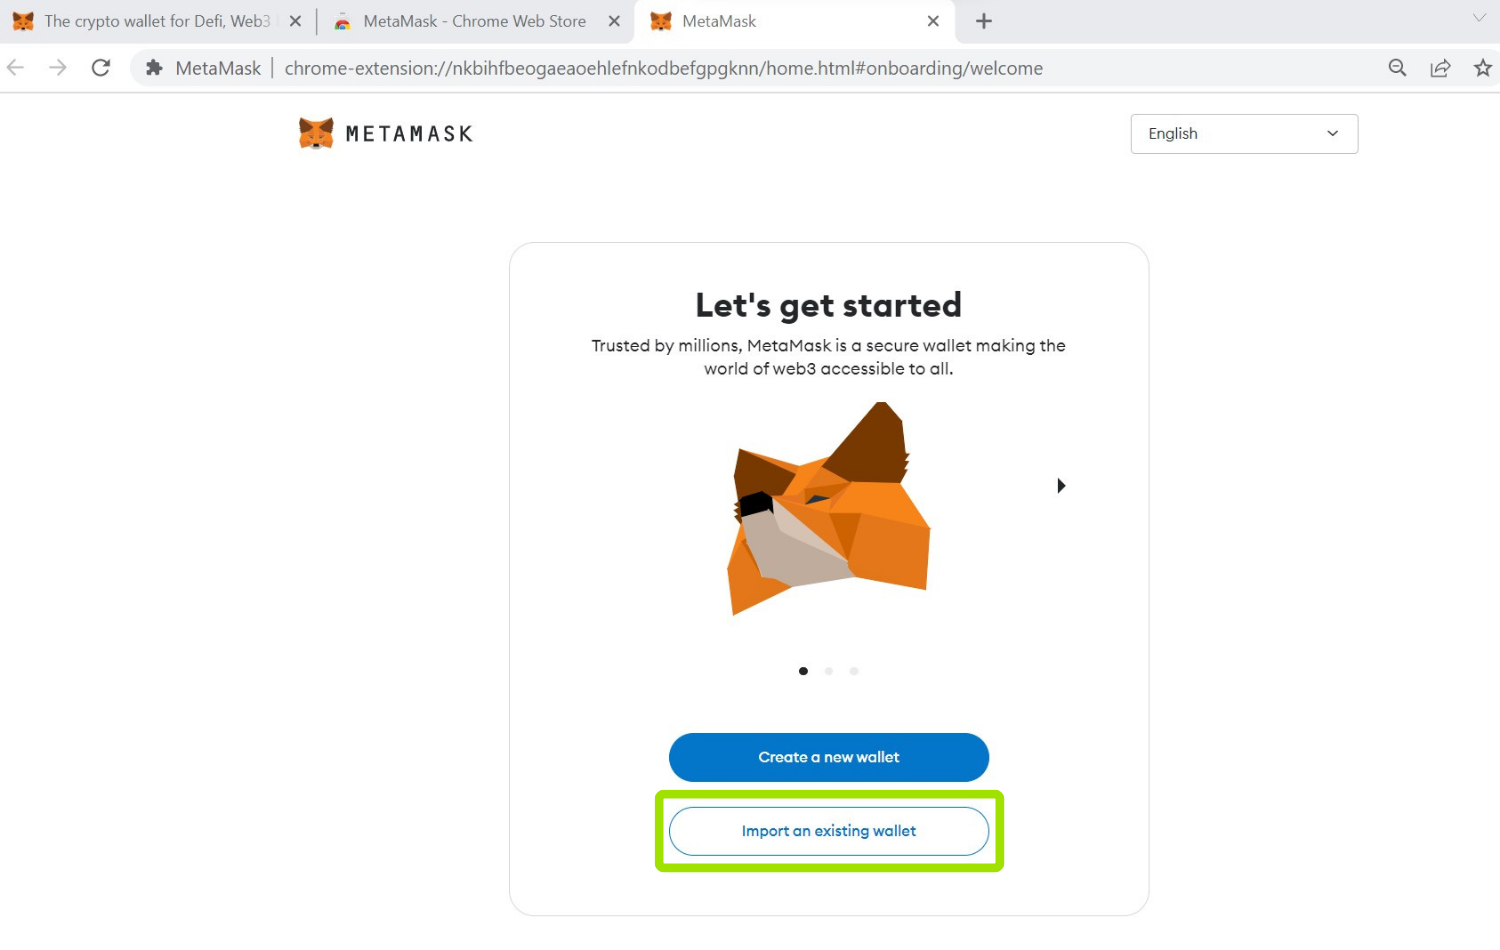
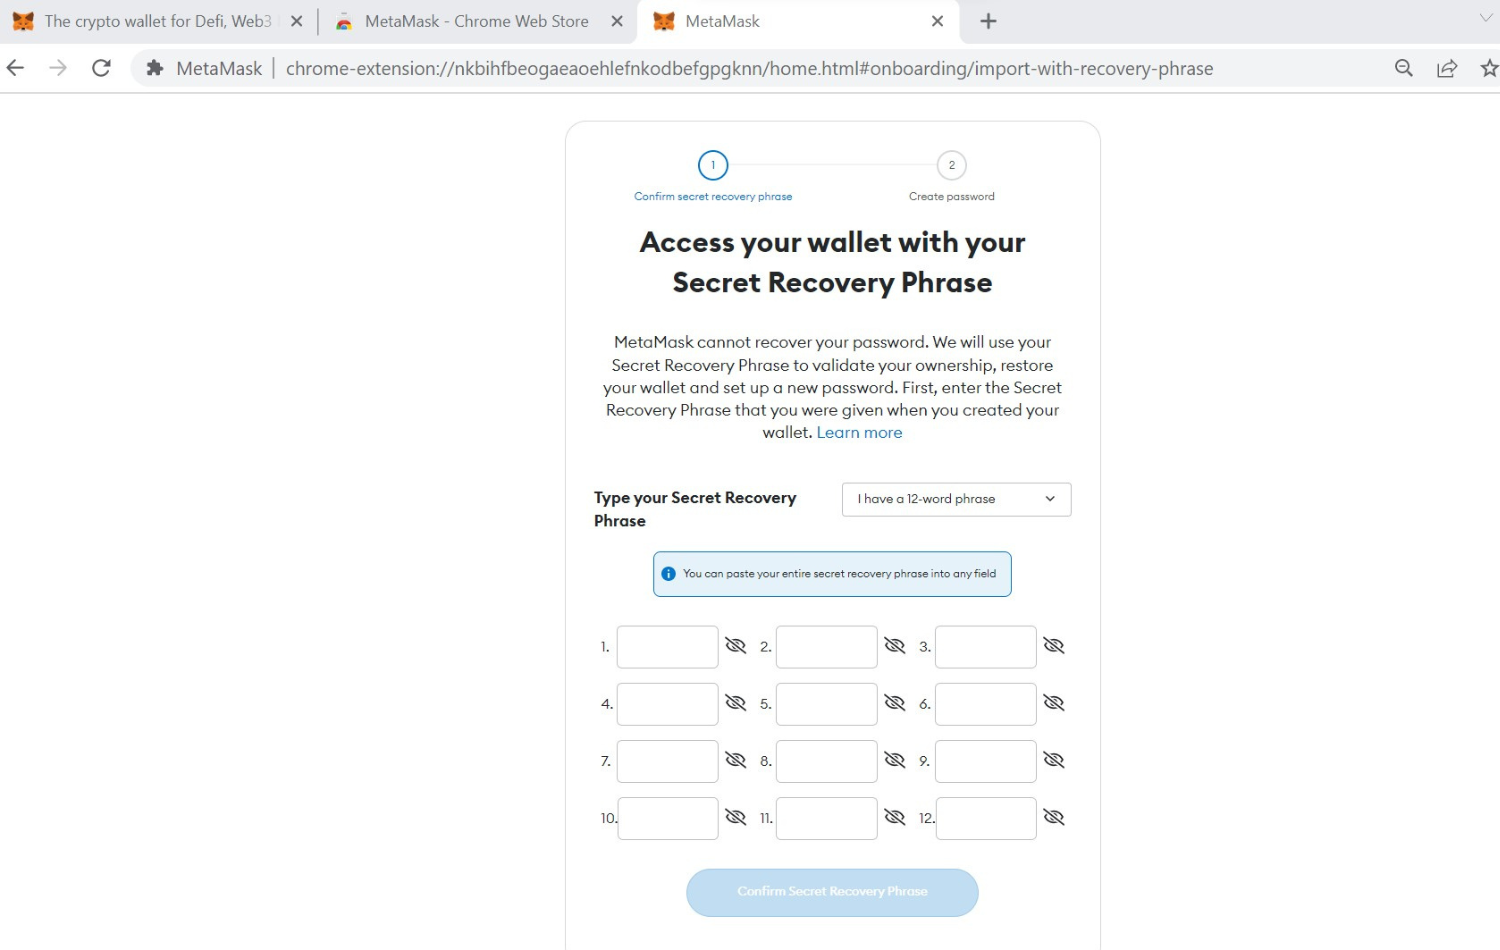
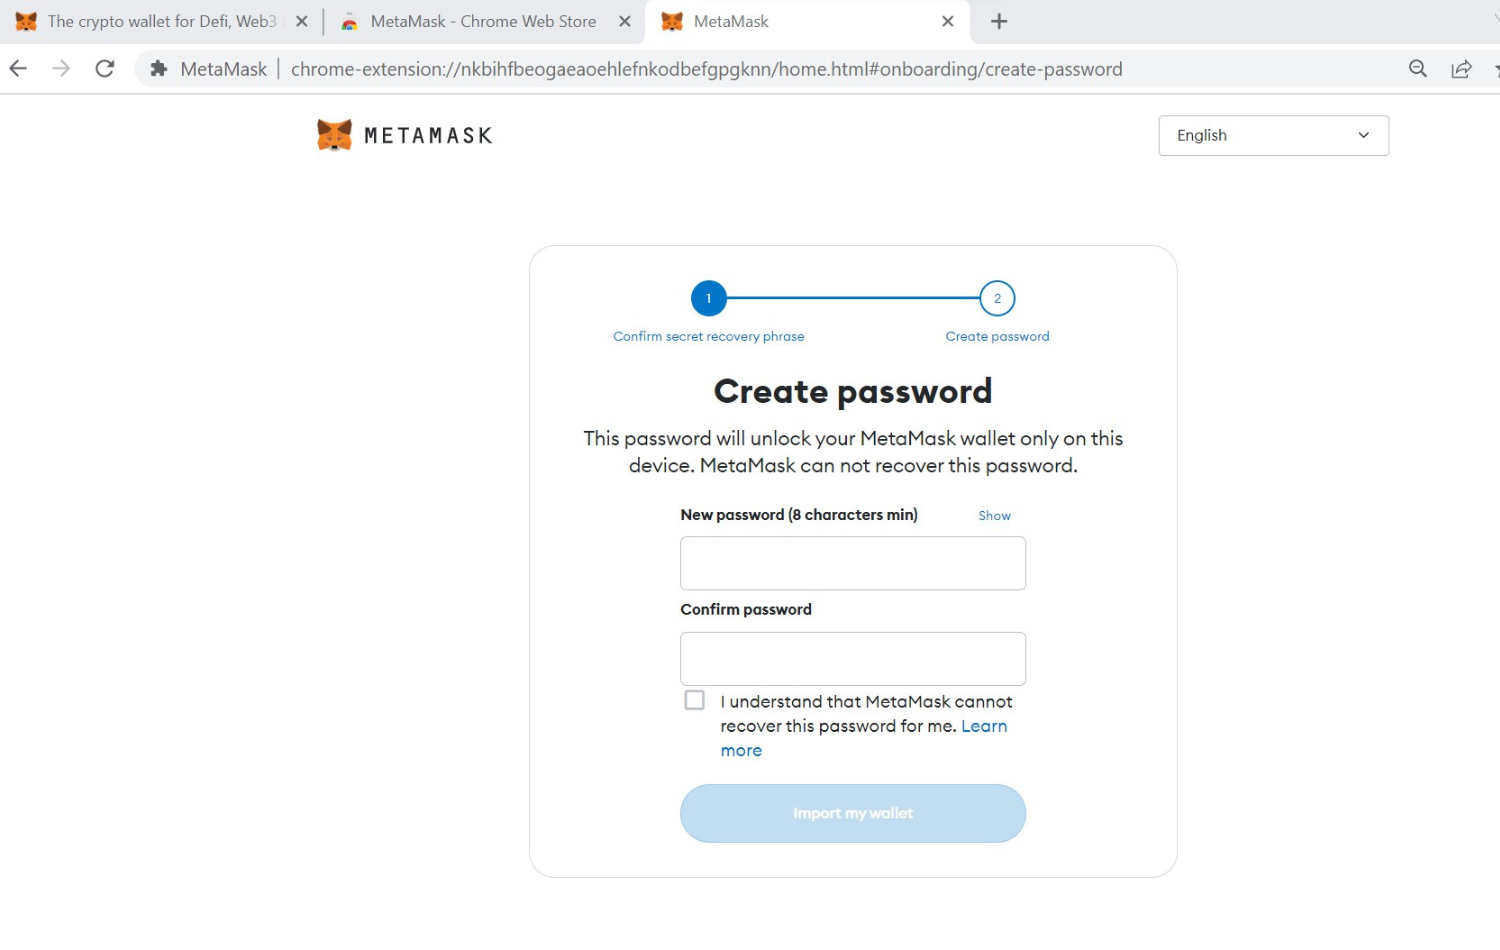
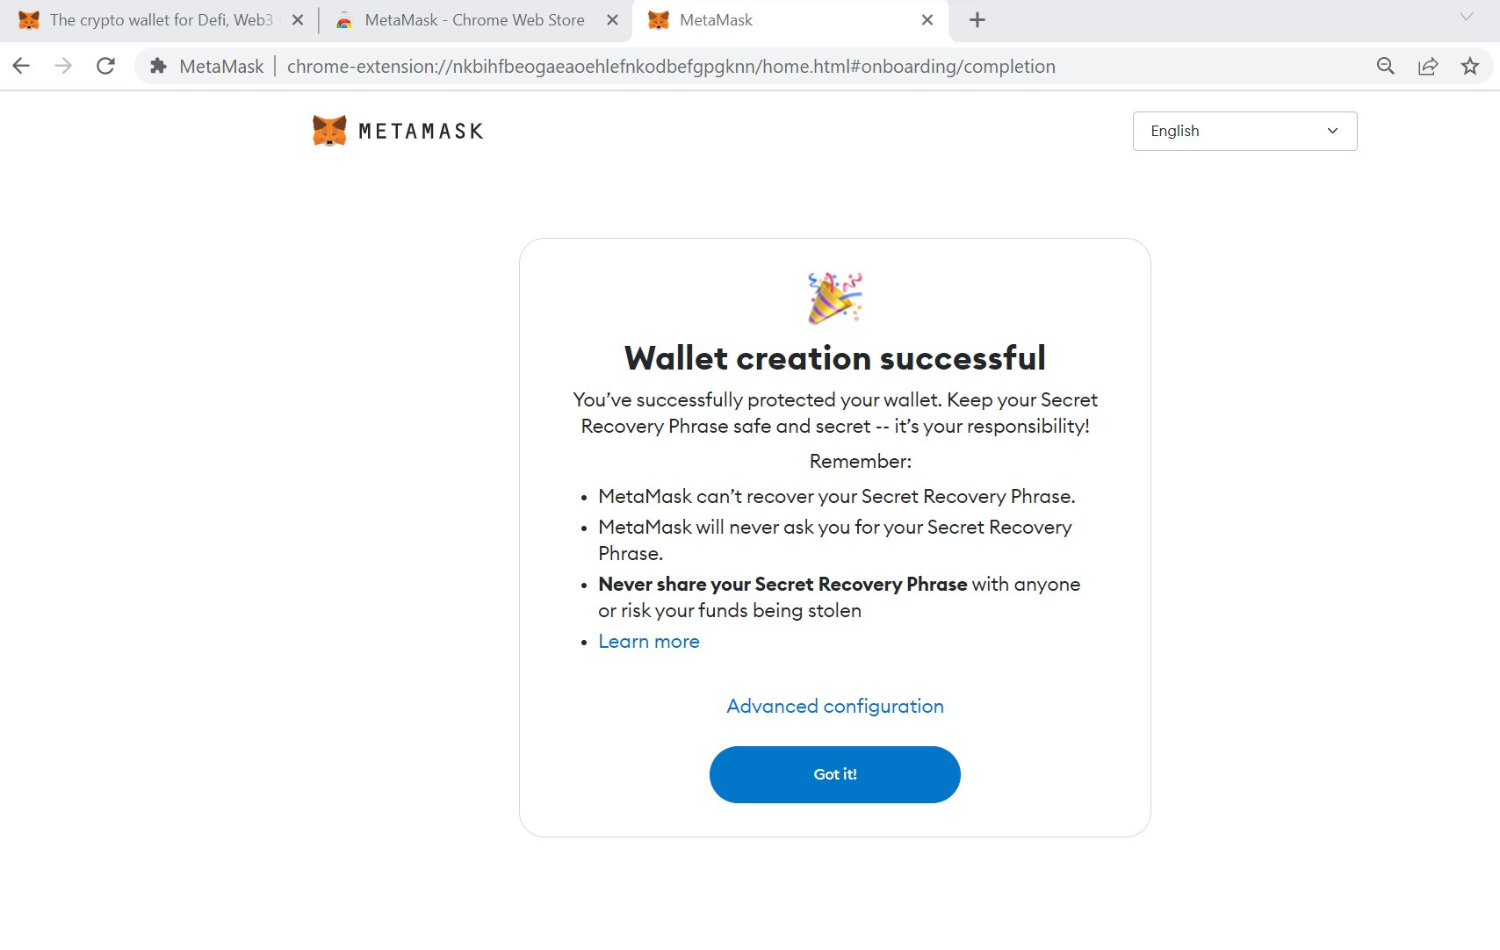
Note: If you do not yet have your own Ethereum address you can create one by following steps 1.1.-1.4. (see above) – at step 1.4. click on the «Create a new wallet» button and finish the process in MetaMask. Since you are already using MetaMask with the Ethereum address from your physical NFT card you might want to create a second browser account in the browser you are using and download MetaMask on this second browser account again. Alternatively, you might prefer to download MetaMask in a different browser where you are not currently using it. After setting up your new Ethereum address in MetaMask you will be able to see / copy your newly created Ethereum address in / from your MetaMask browser extension.
3.4. A MetaMask notification window should appear
It will show you the expected «gas costs» for the Ethereum transaction associated with the NFT transfer. Once you are ready to make the transfer click on the «Confirm» button to continue.
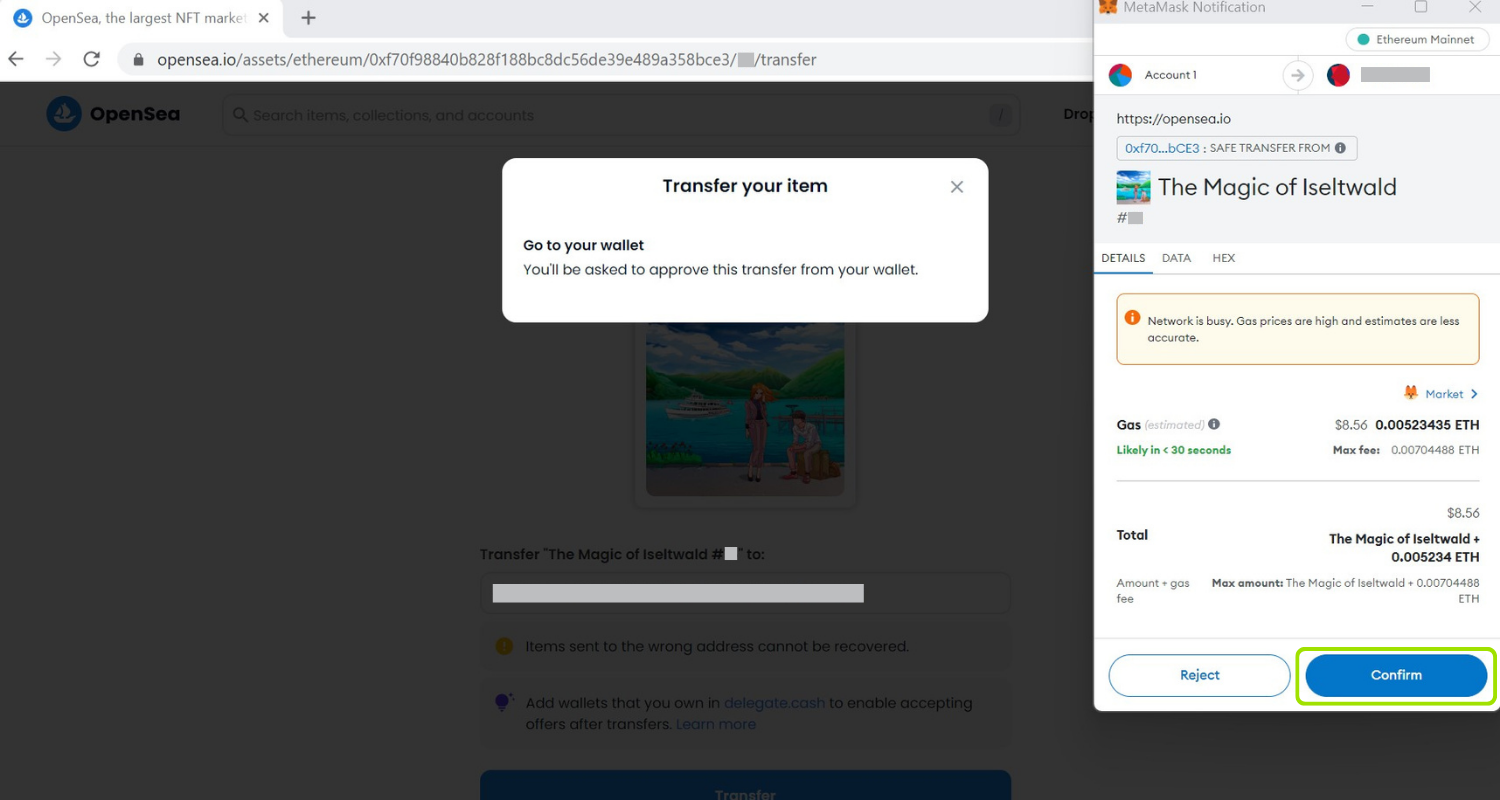
Note: Gas costs (i.e., the Ethereum «network fee») are paid for in the ETH cryptocurrency (i.e., the native token of the Ethereum blockchain) and vary depending on the congestion of the Ethereum network. In order to be able to confirm the NFT transfer transaction you will need to hold a certain amount of ETH on the Ethereum address from which you want to transfer the NFT out of (e.g., in the example from the screenshot you would need to hold at least 0.00523435 ETH). Since the Ethereum address which we created for you does not hold any ETH when you claim it, you will need to send ETH to that address in order to be able to make the NFT transfer.
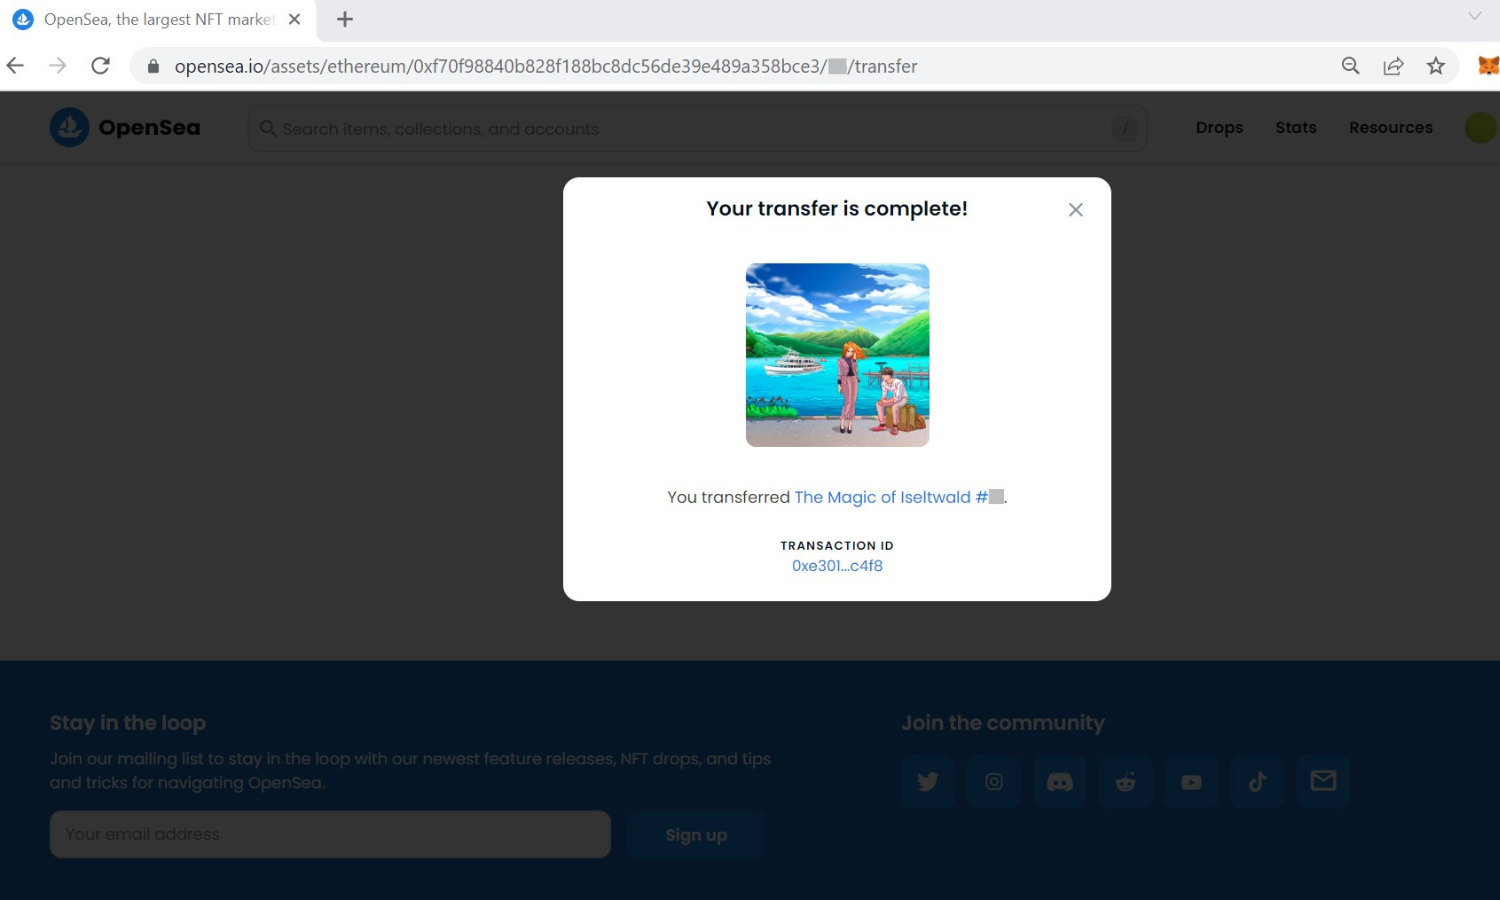
3.5. OpenSea will inform you about the successful transfer – your NFT is now held by the Ethereum address to which you have transferred it to. Yayyy!